Automotive Metrology Moves to the Shop Floor
with Optical 3D Scanning & Probing
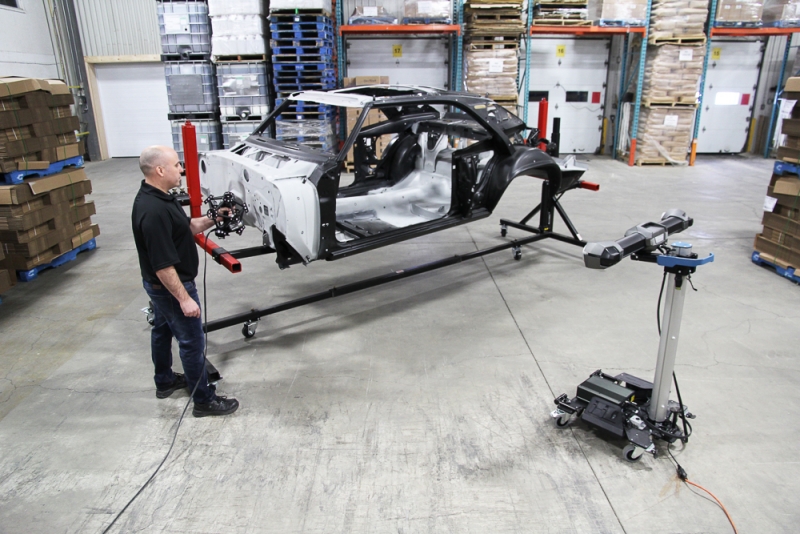
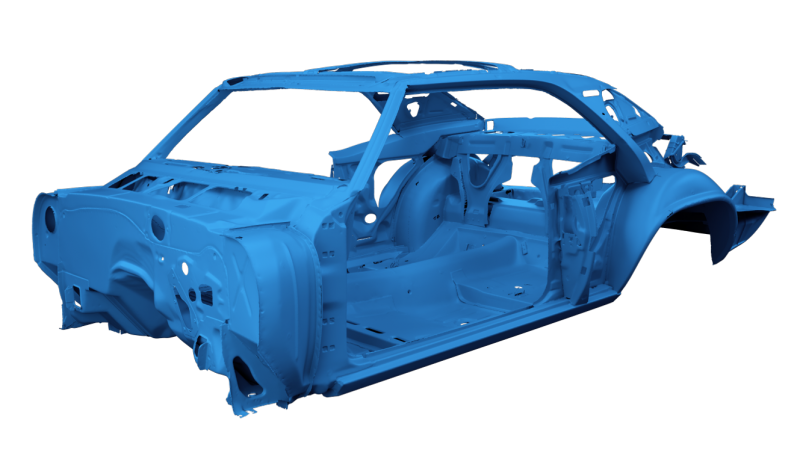
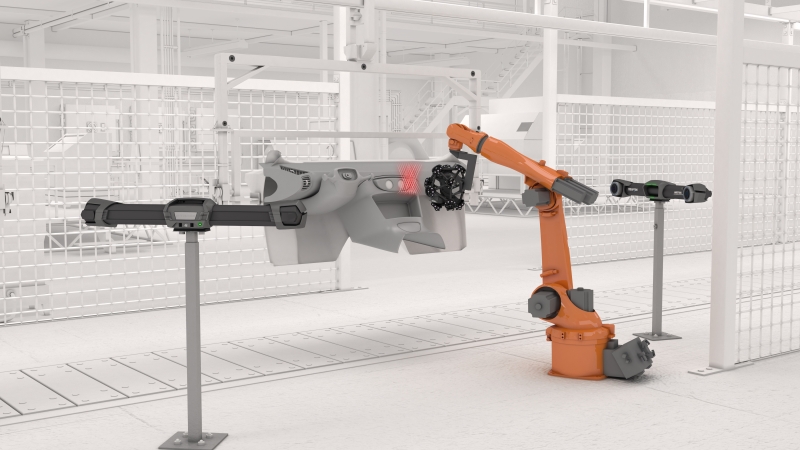
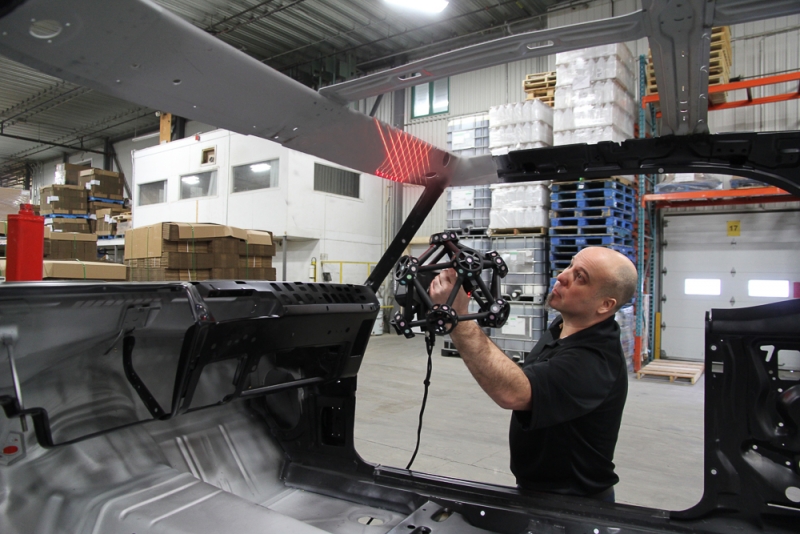
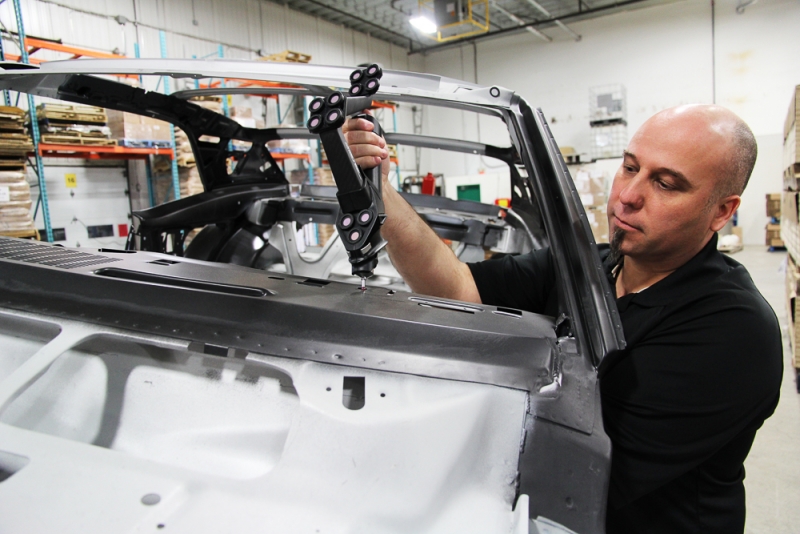
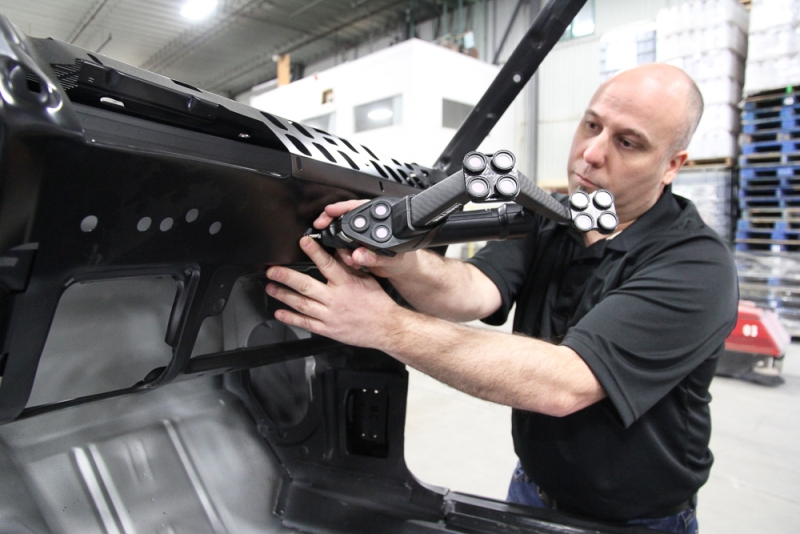
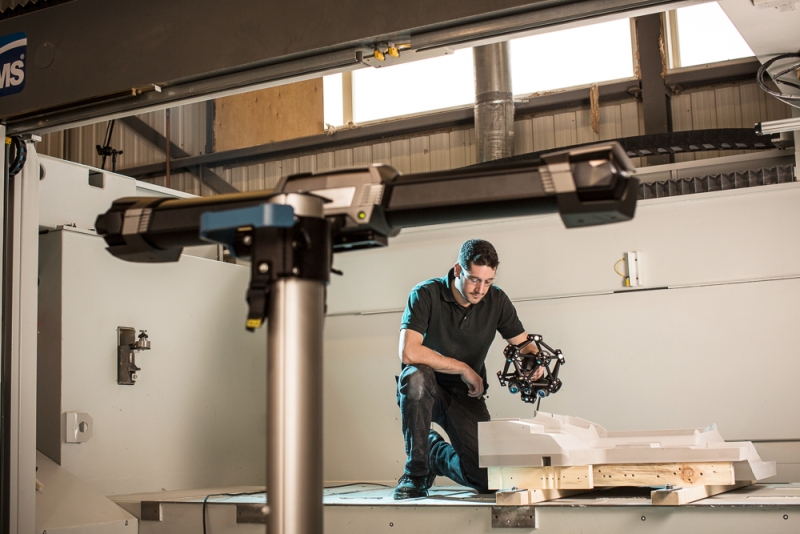
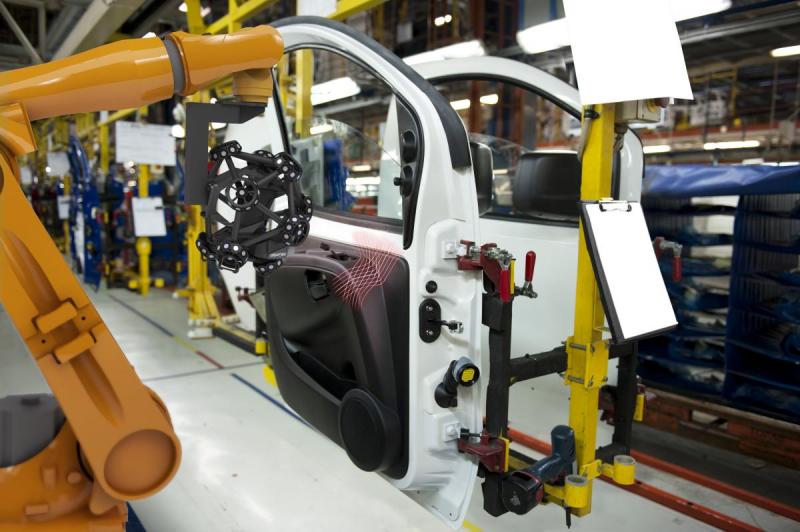
In automotive shop floor metrology, speed and accuracy are critical to meeting reduced cycle time requirements and tighter part tolerance demands. Moving metrology from the traditional quality lab to the shop floor is key to improving product quality and optimizing manufacturing efficiency. However, this requires measurement tools capable of taking 3D measurements in an industrial environment; in other words, portable, accurate, and easy to use. Unfortunately, traditional CMMs and arm-based measurement tools are not well-suited for shop floor environments because they are not very portable and are sensitive to vibration and other environment instabilities.

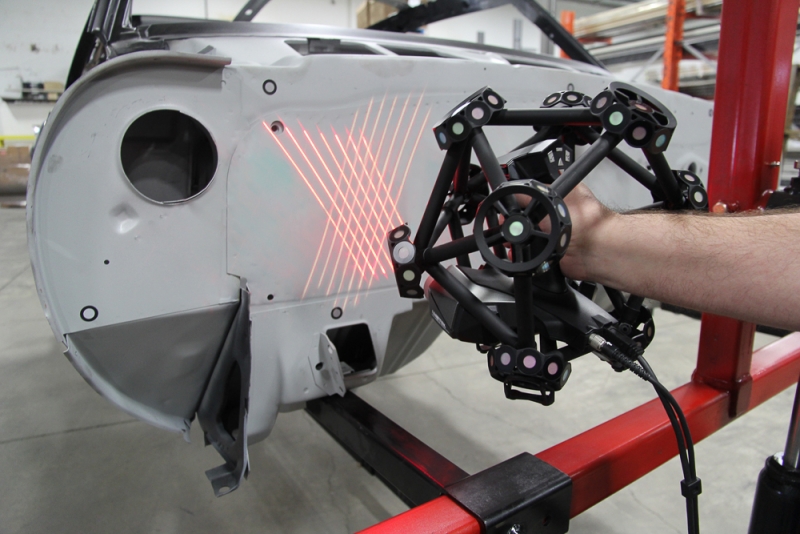
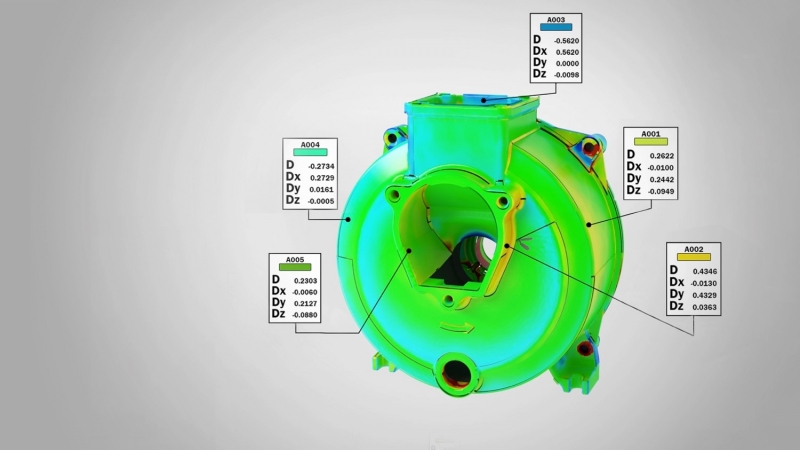
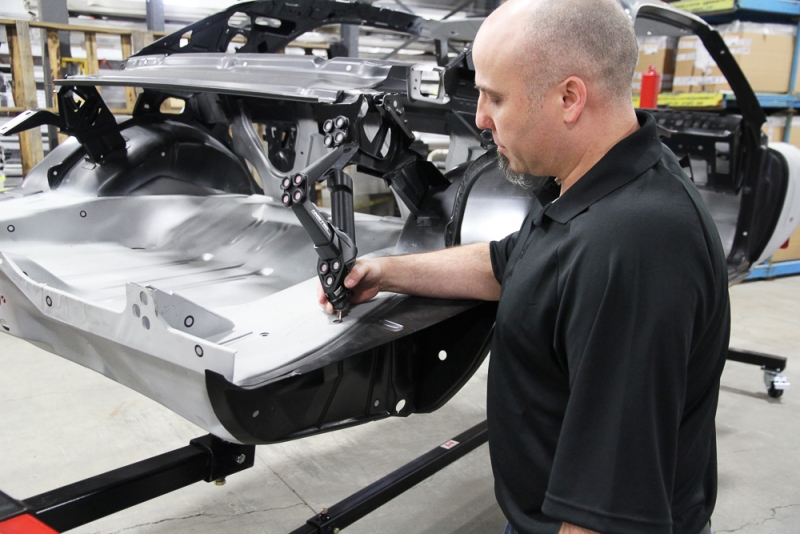
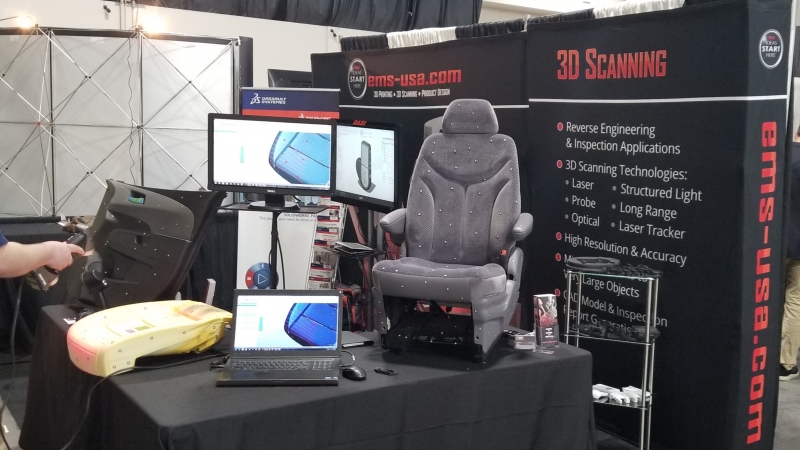
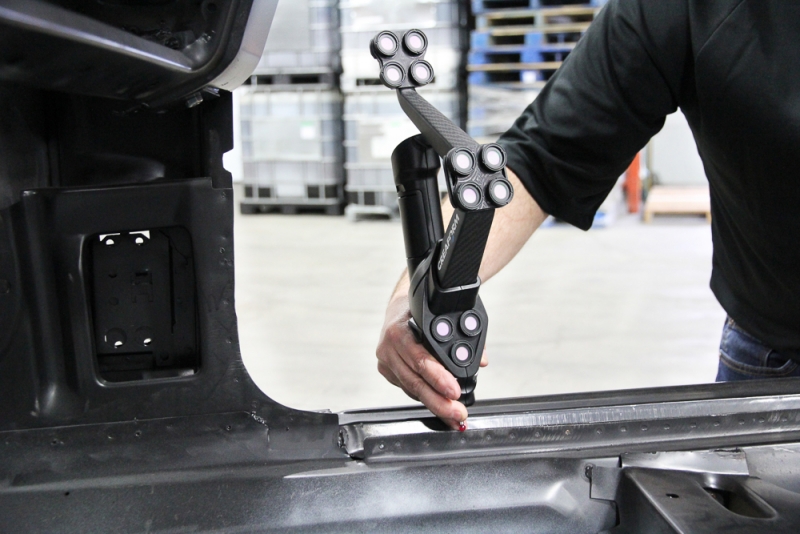
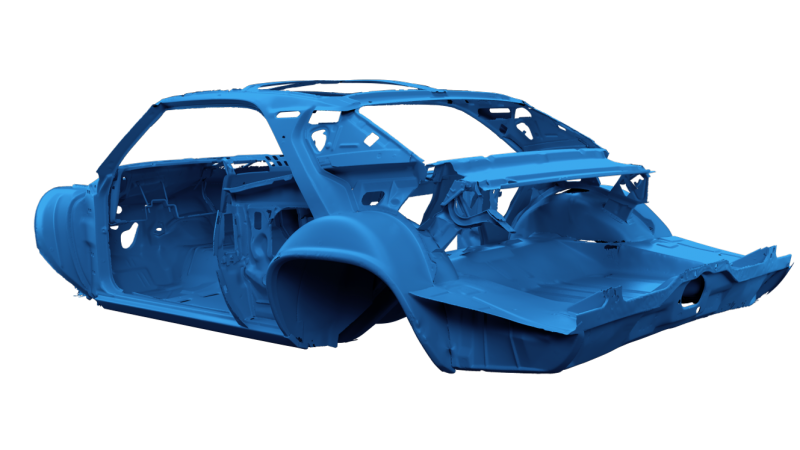
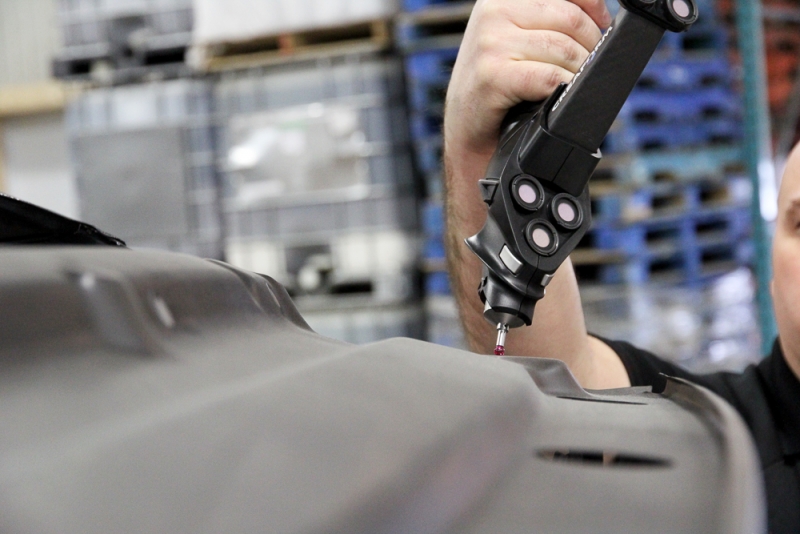
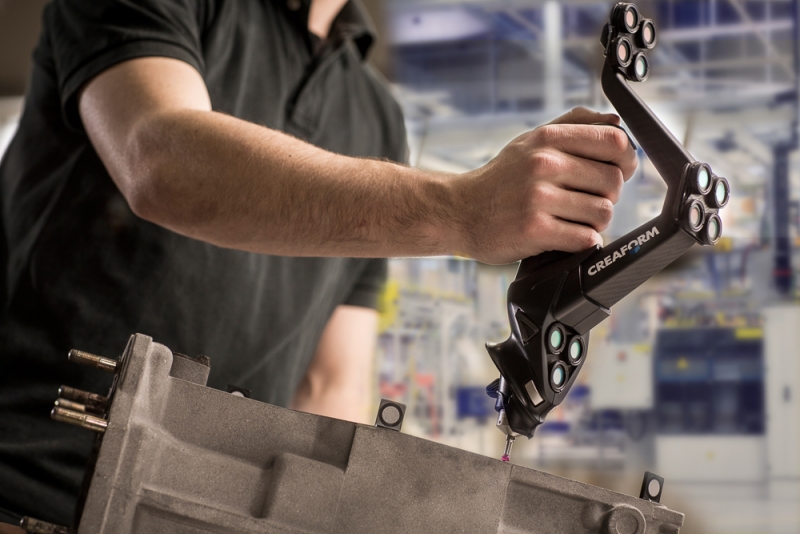
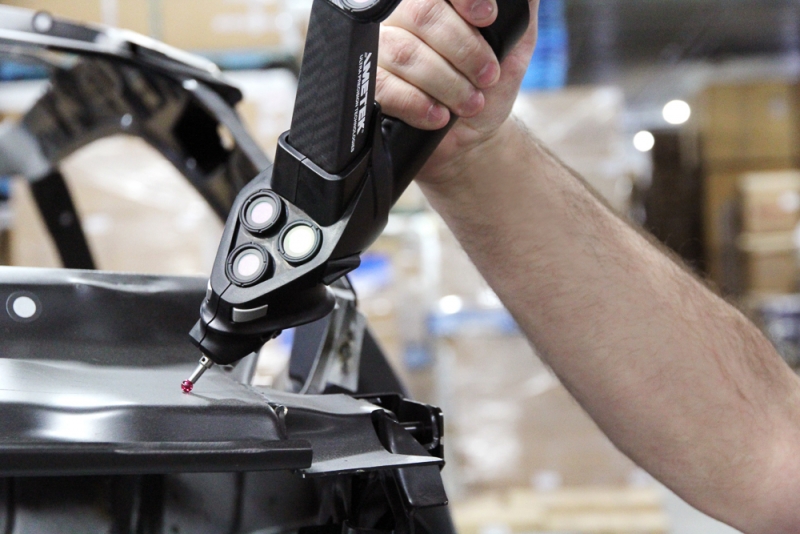
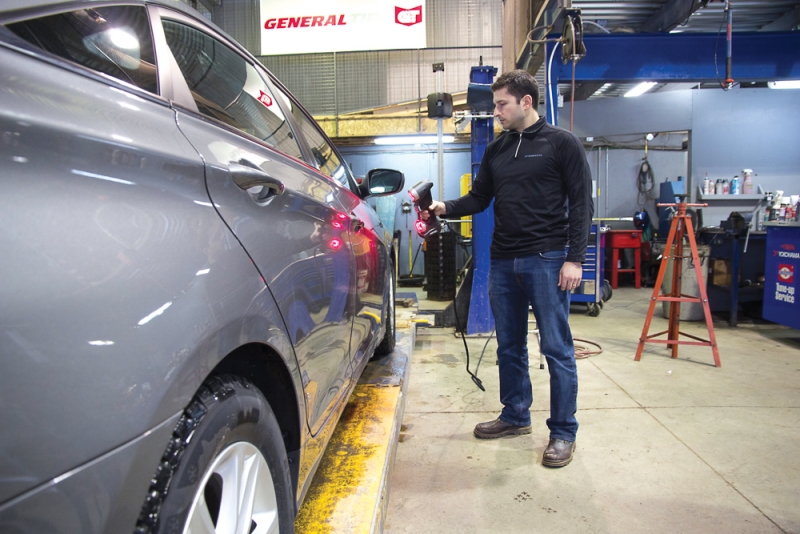
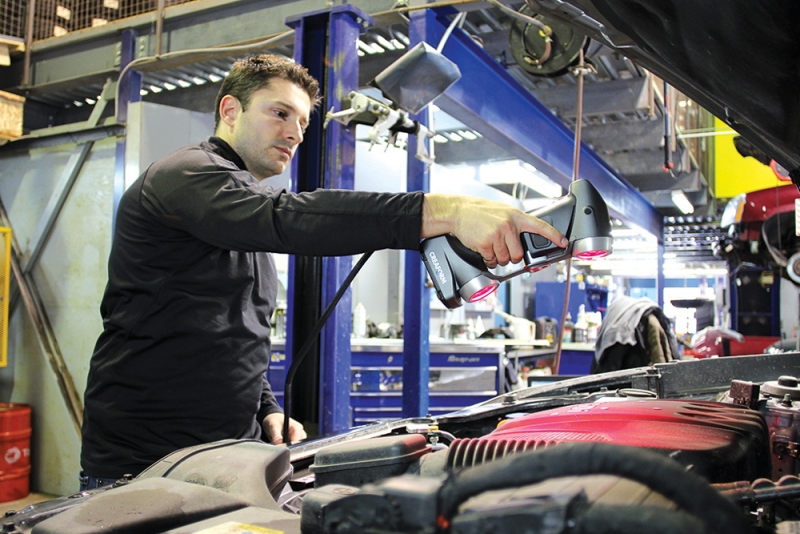
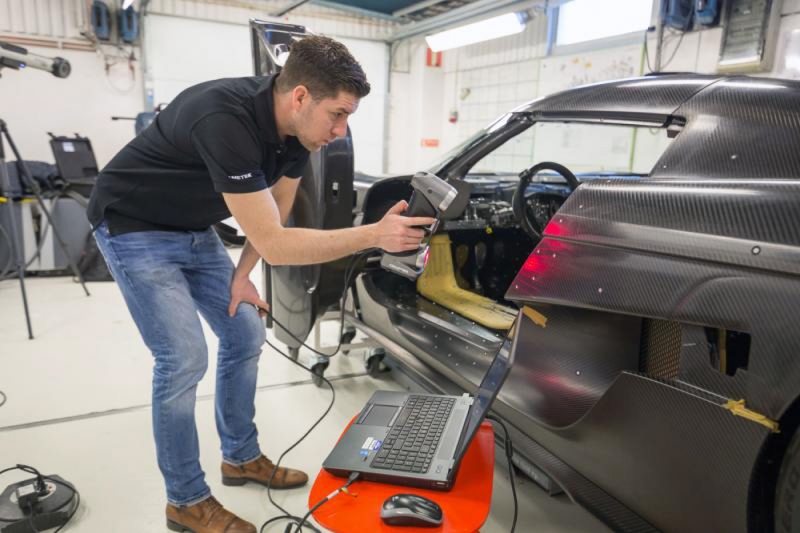
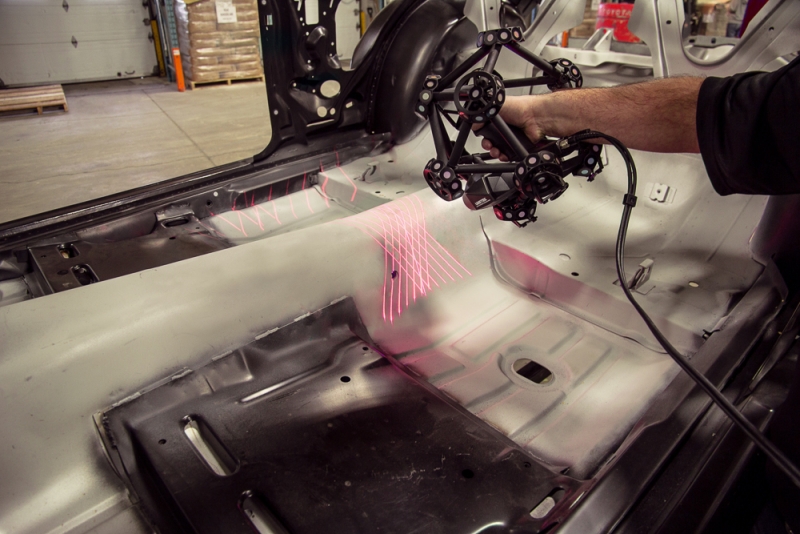
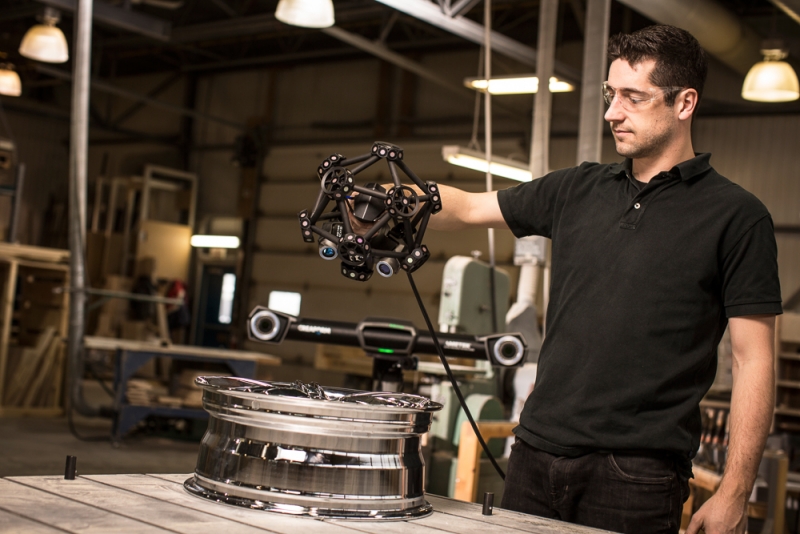
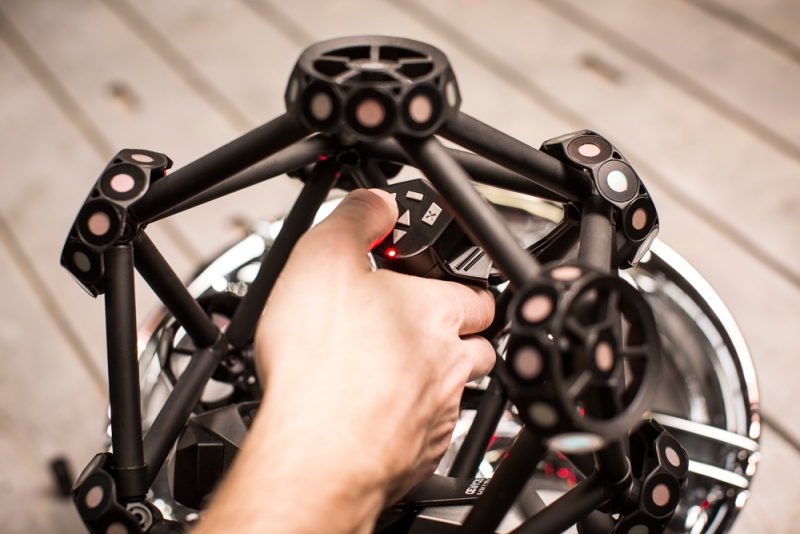
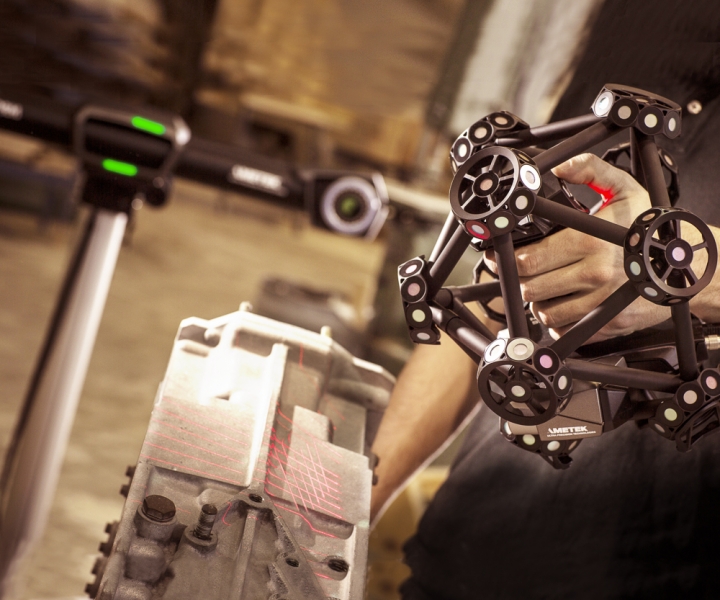
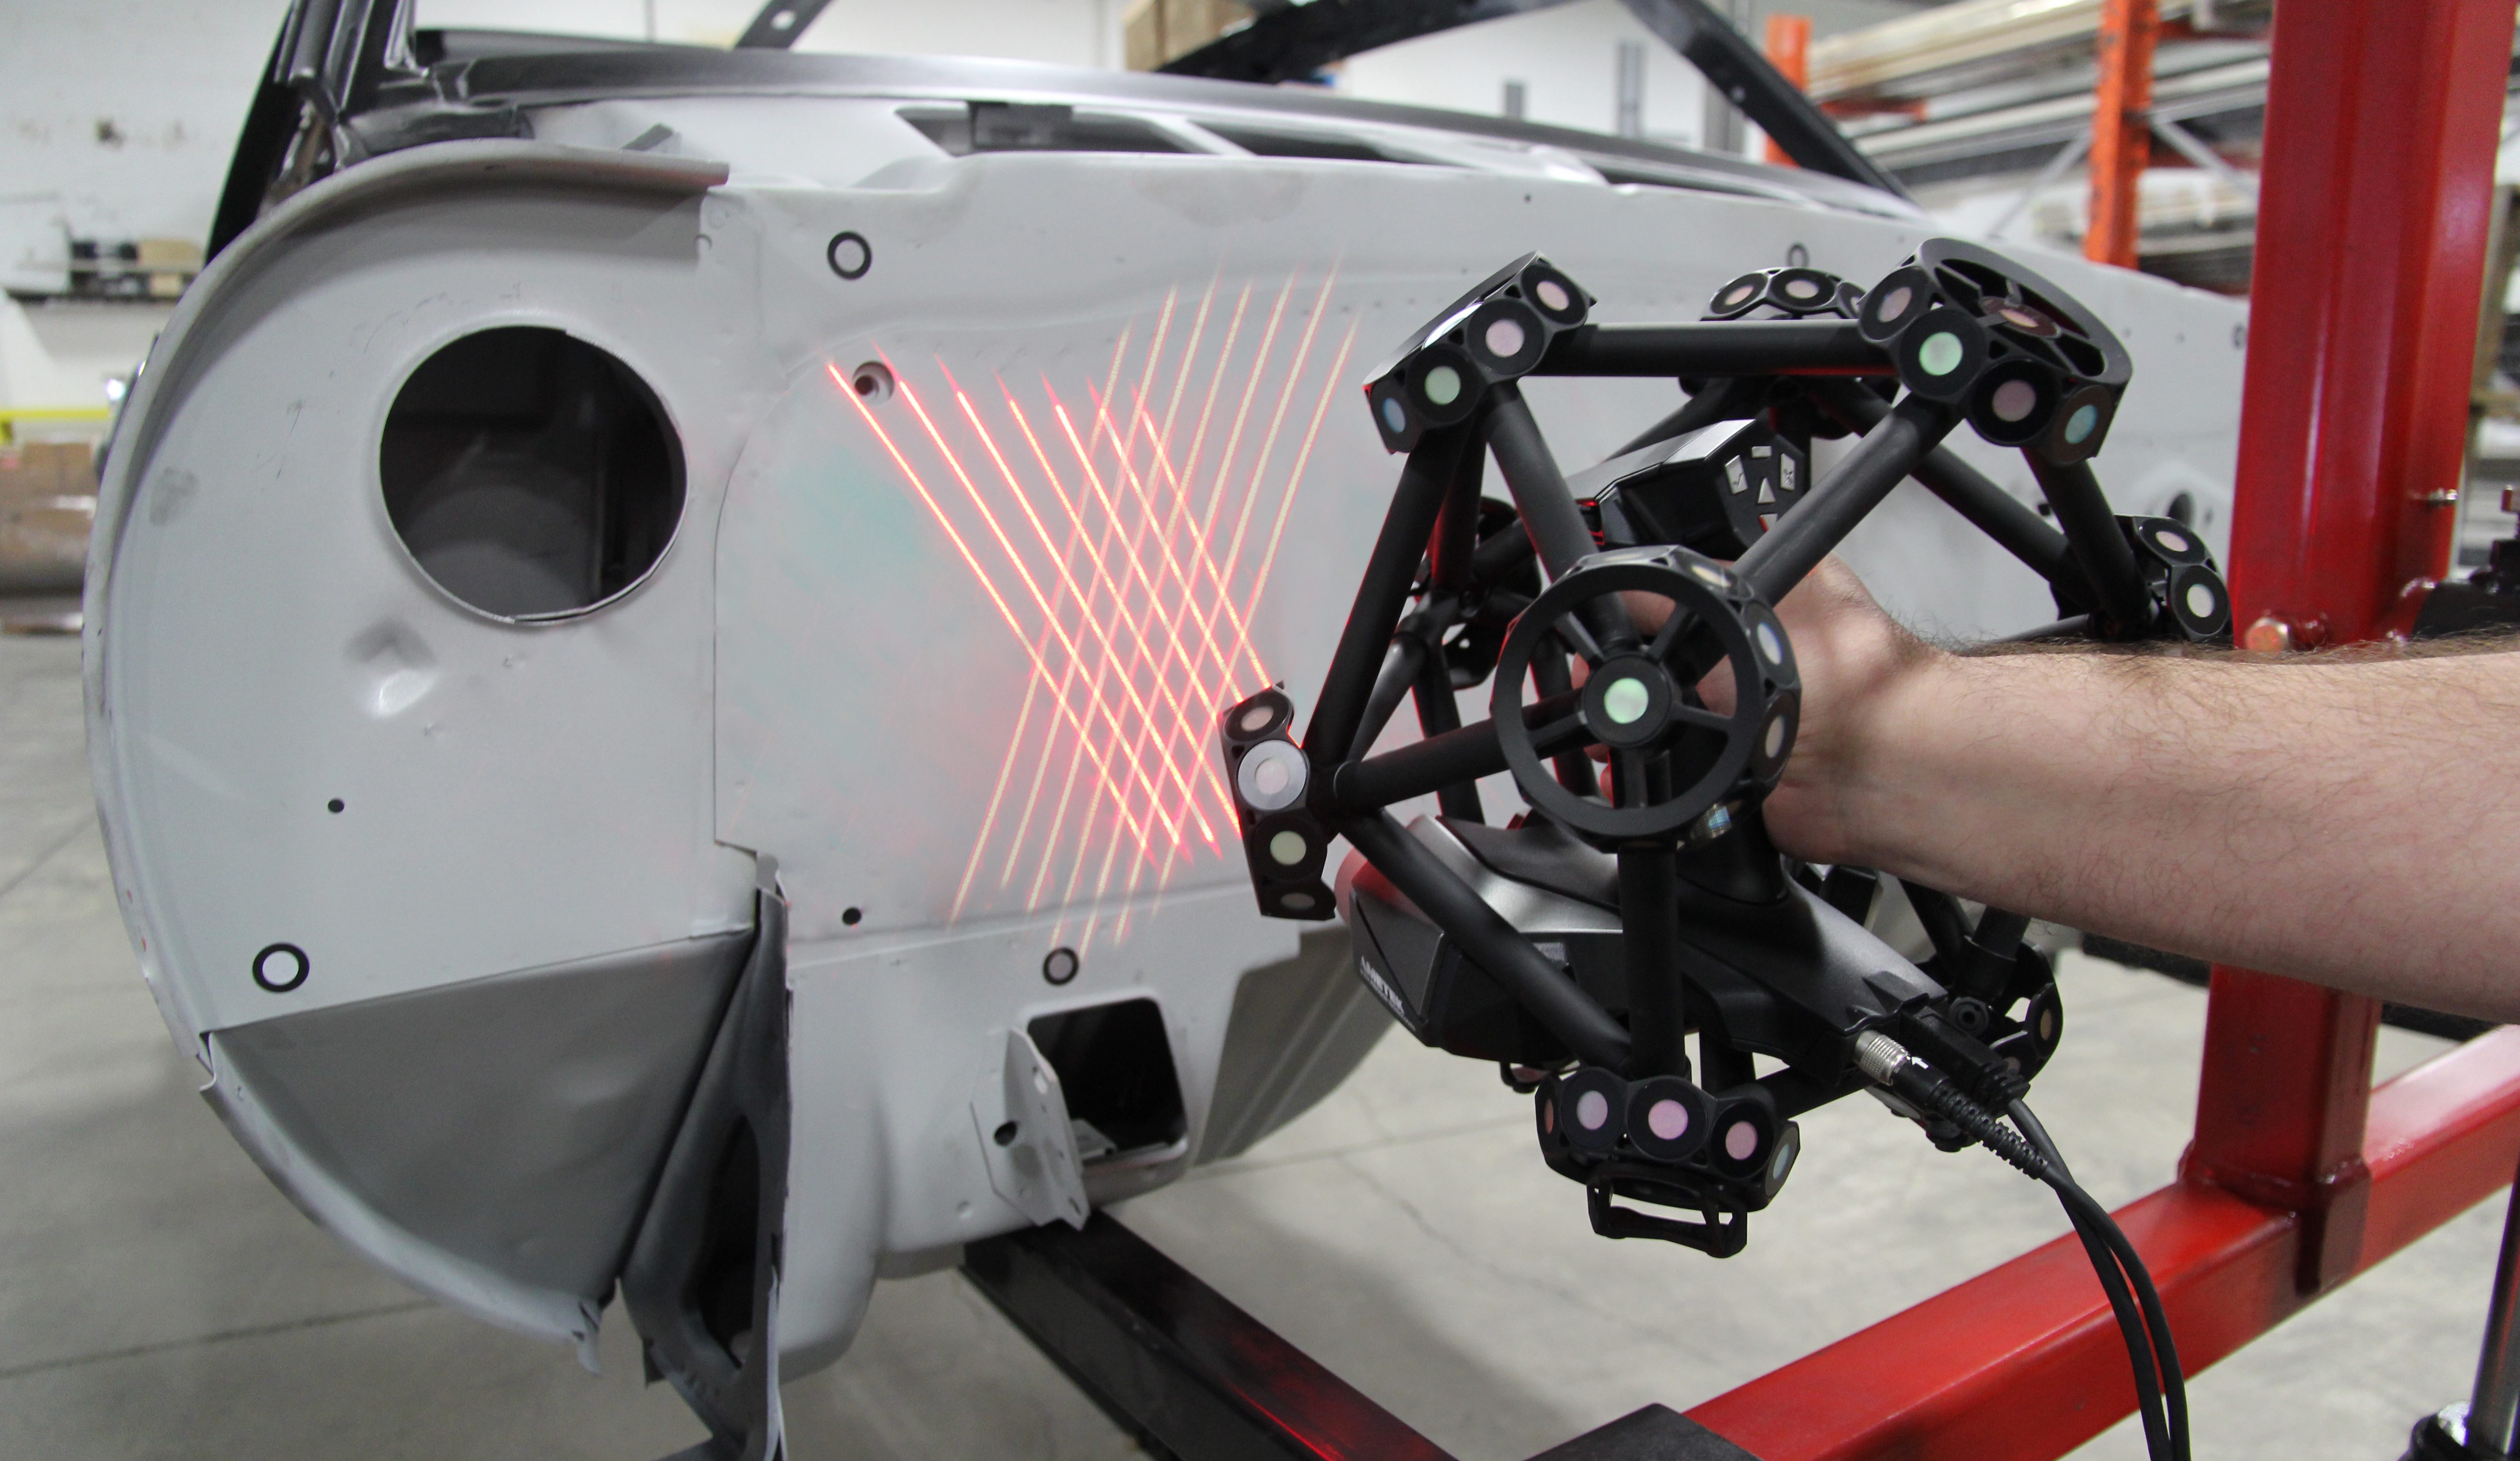
Now, optical 3D metrology systems, such as the Creaform HandySCAN, MetraSCAN and HandyPROBE, use dynamic referencing to track the measured part and the measuring tool simultaneously, and offer the portability, speed and accuracy to measure parts rights on the shop floor.
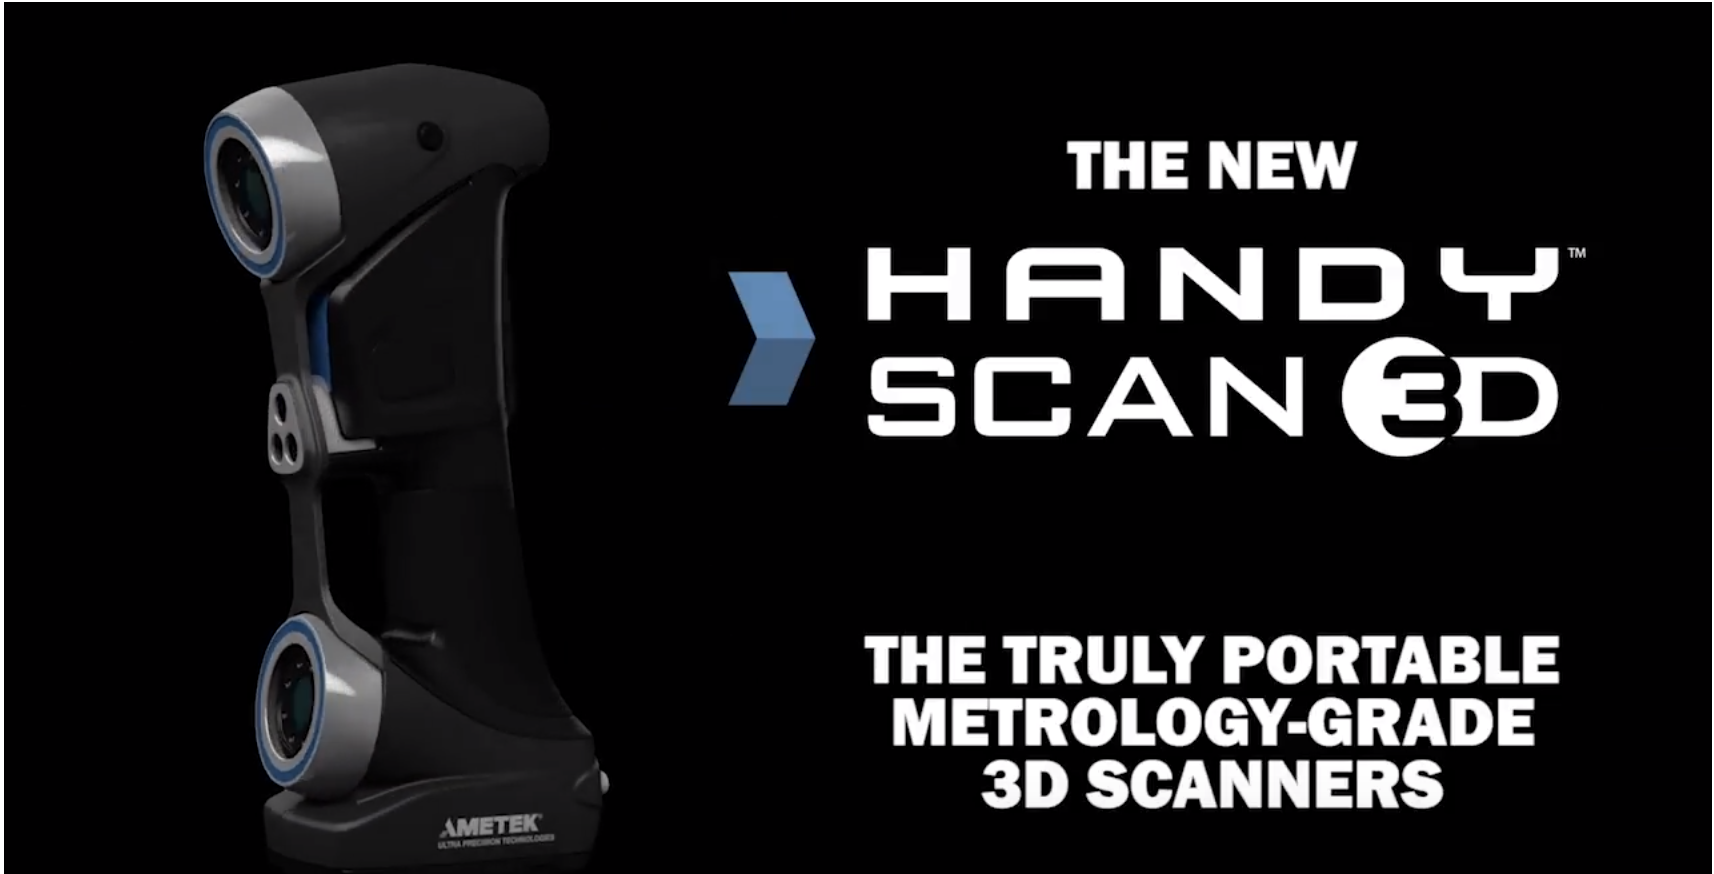
Curious how your metrology technology measures up to Optical 3D scanning for automotive shop floor metrology? Take a quick look at this HandySCAN demo.
For more information or to request a demo:
- email us at 3DScanners@ems-usa.com
- call 1-877-845-2700
- fill out the short form to the right

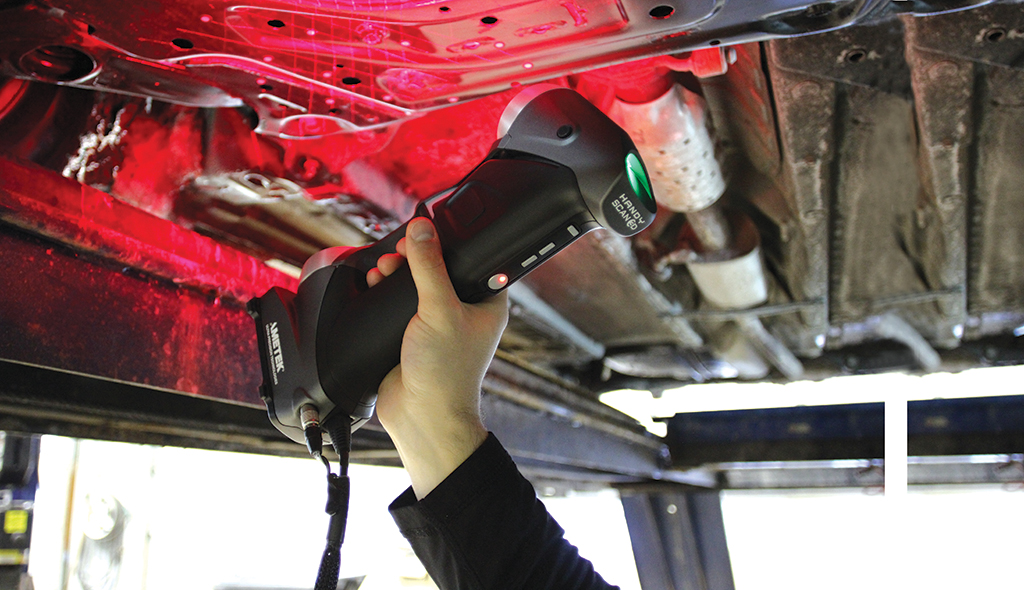
- Fastest 3D scanner on the market
- Metrology-grade accuracy & resolution
- Dynamic referencing: Accurate in all conditions
- Small, portable & Lightweight <1 kg
- User friendly & quick set up <2 min.


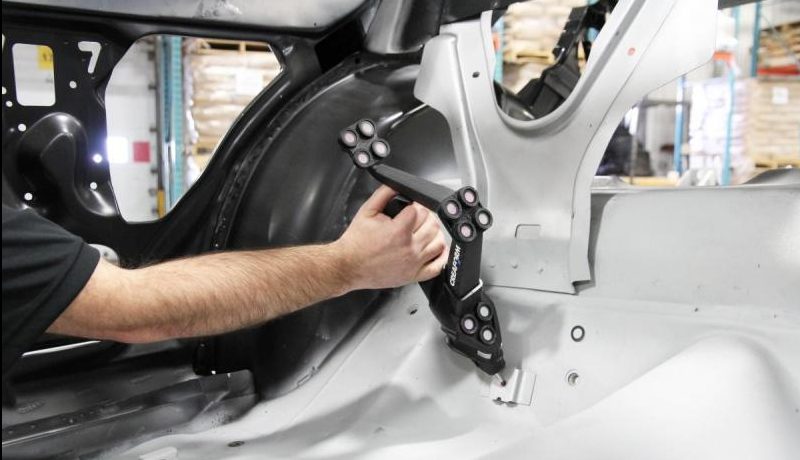
- Portable CMM designed for shop floor
- Metrology-grade accuracy and resolution
- Accurate measurement of parts from 0.7 to 33 feet
- Parts & system can be moved freely during measurement
- Easy set up & operation
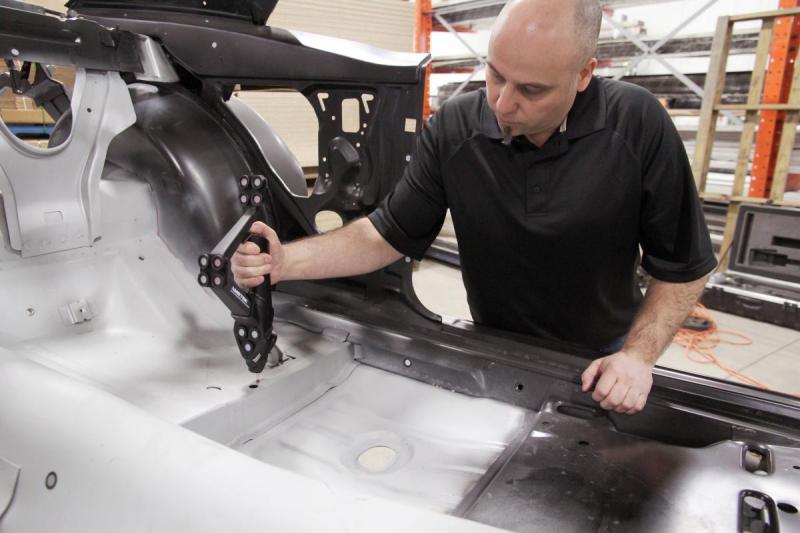

- Fast, portable arm-free optical scanning system
- Metrology-grade accuracy & resolution
- Optimized for use on shop floors
- Can scan any type of color and material
- Easy to set up and intuitive operaton
ImagesVideosSuccess Stories

